


Have you ever wondered how you can create your sitemap? Well, if you’re reading this blog, I’m sure you do! By the end of this blog, you will have enough knowledge about sitemaps and learn how to create your website. This blog will also help you learn more about XML site pages and how they can be properly linked to rankings.
What is a Sitemap?
A sitemap is a file that contains information about the pages, videos, and other files on your website, as well as the relationships between them.
XML sitemaps help Google find your site and help you find it quickly. XML sitemaps can aid in Search Engine Optimization by allowing search engines to locate your most important sites even if there are no internal links. The following post explains why these are beneficial to your ranking.
There are two different types of sitemaps:
XML Sitemap – XML sitemaps are files that contain a list of the most important pages on a website for Google to crawl.This assists search engines in learning about the structure of a website. Google crawls your website’s pages. Sometimes the lack of linking makes its existence difficult to discover. A sitemap aids in the retrieval of information.
HTML Sitemap – These sitemaps include all the pages in your website. It is better to have an HTML sitemap that is organise just like a directory for your website. These would be better ideal for smaller websites.
Is it important?
A sitemap is critical for your SEO ranking. When you include every page of your website on your site map, the search engine crawls it and follows every link listed. That is, the search engine has indexed every page of your website.
Creating a Sitemap in WordPress
You have already learned about the overview of the sitemap. And now it‘s time for you to know and explore the WordPress Sitemaps. There are a wide variety of plugins to choose from to supercharge your overall SEO. Generally, you will be able to create an XML sitemap in WordPress with or without the use of plugins.
Method 1: Creating a WordPress sitemap using the Google XML sitemap plugin
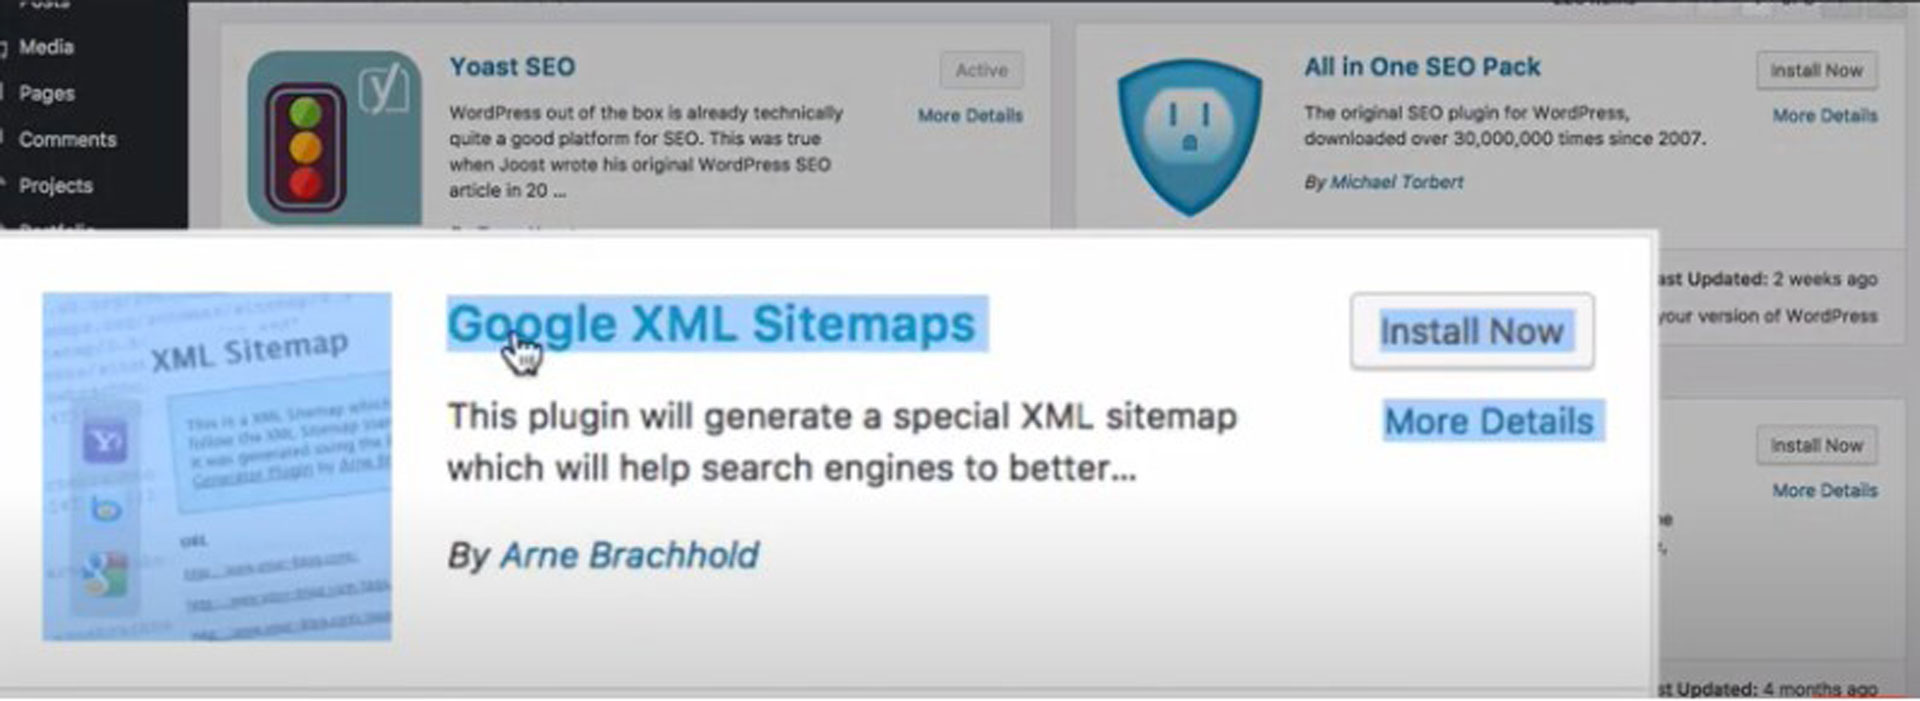
- From the Dashboard, head over to Plugins -> click on Add New. On the search bar, type in XML sitemap, then choose Google XML Sitemaps. Click Install Now and then Activate the plugin.
2. Go to Settings from the dashboard menu -> select XML-Sitemap to open the setting’s page for this plugin. On the setting’s page are a lot of setting options; go to different Options, then set it by default.
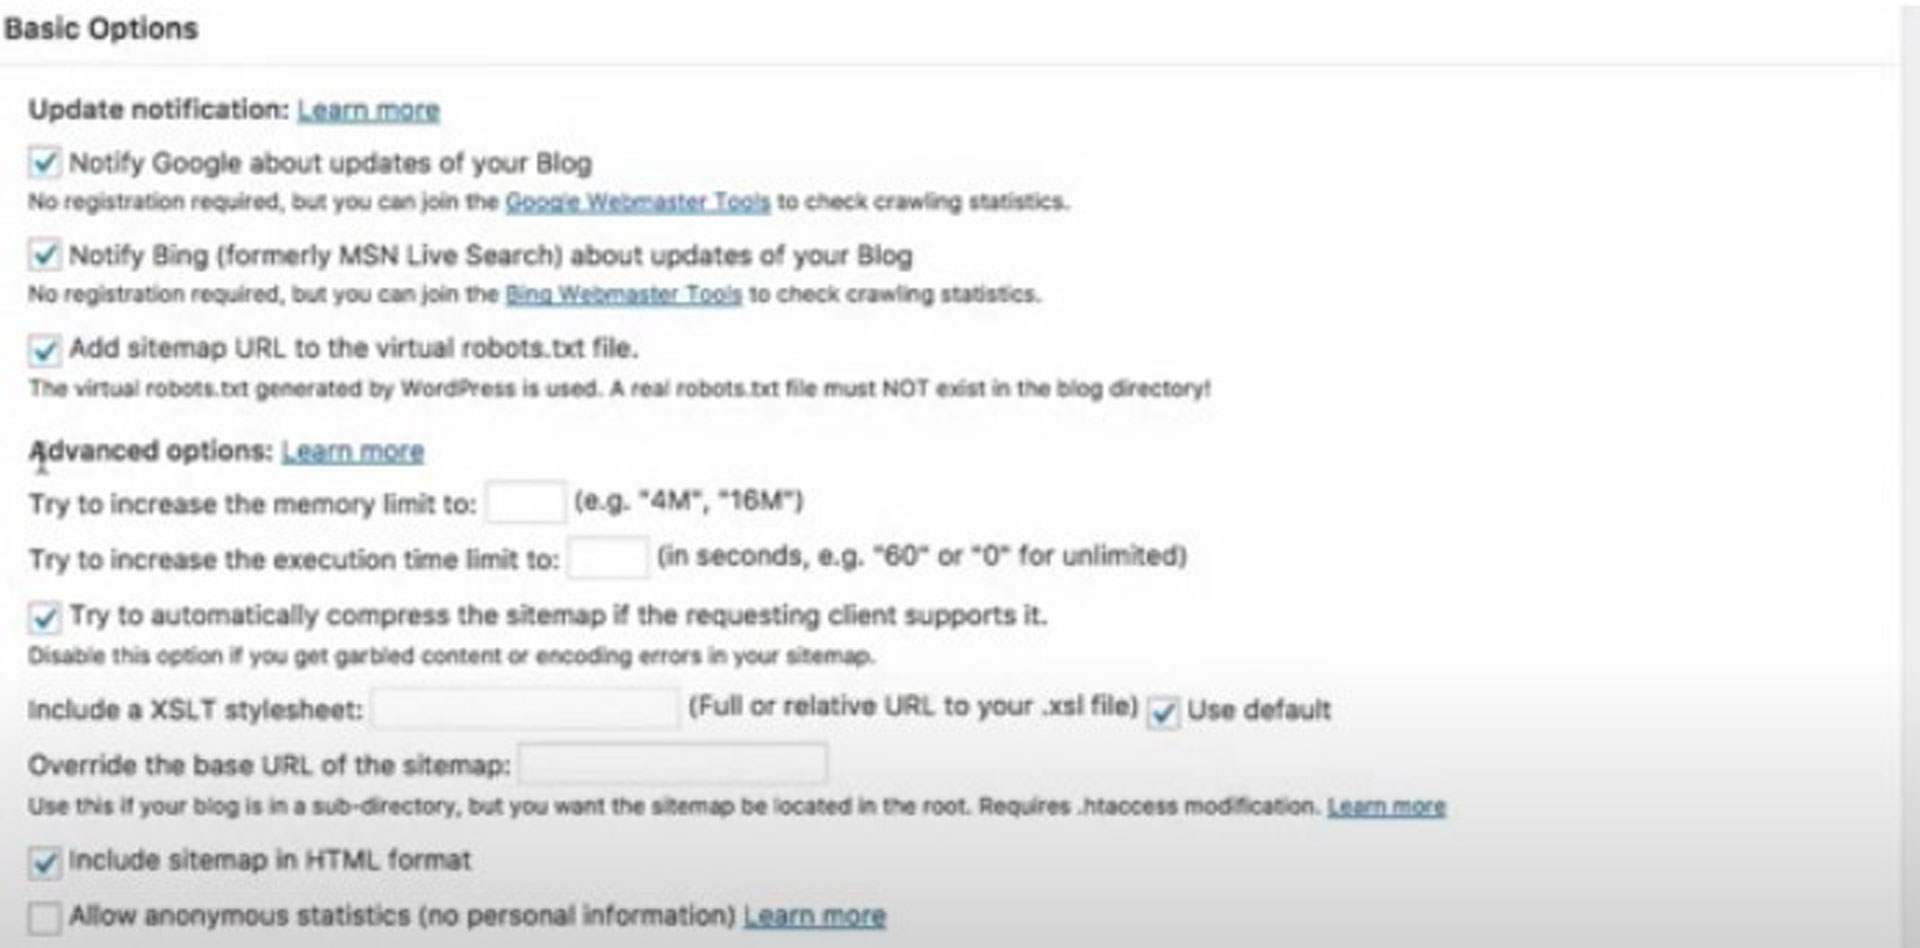
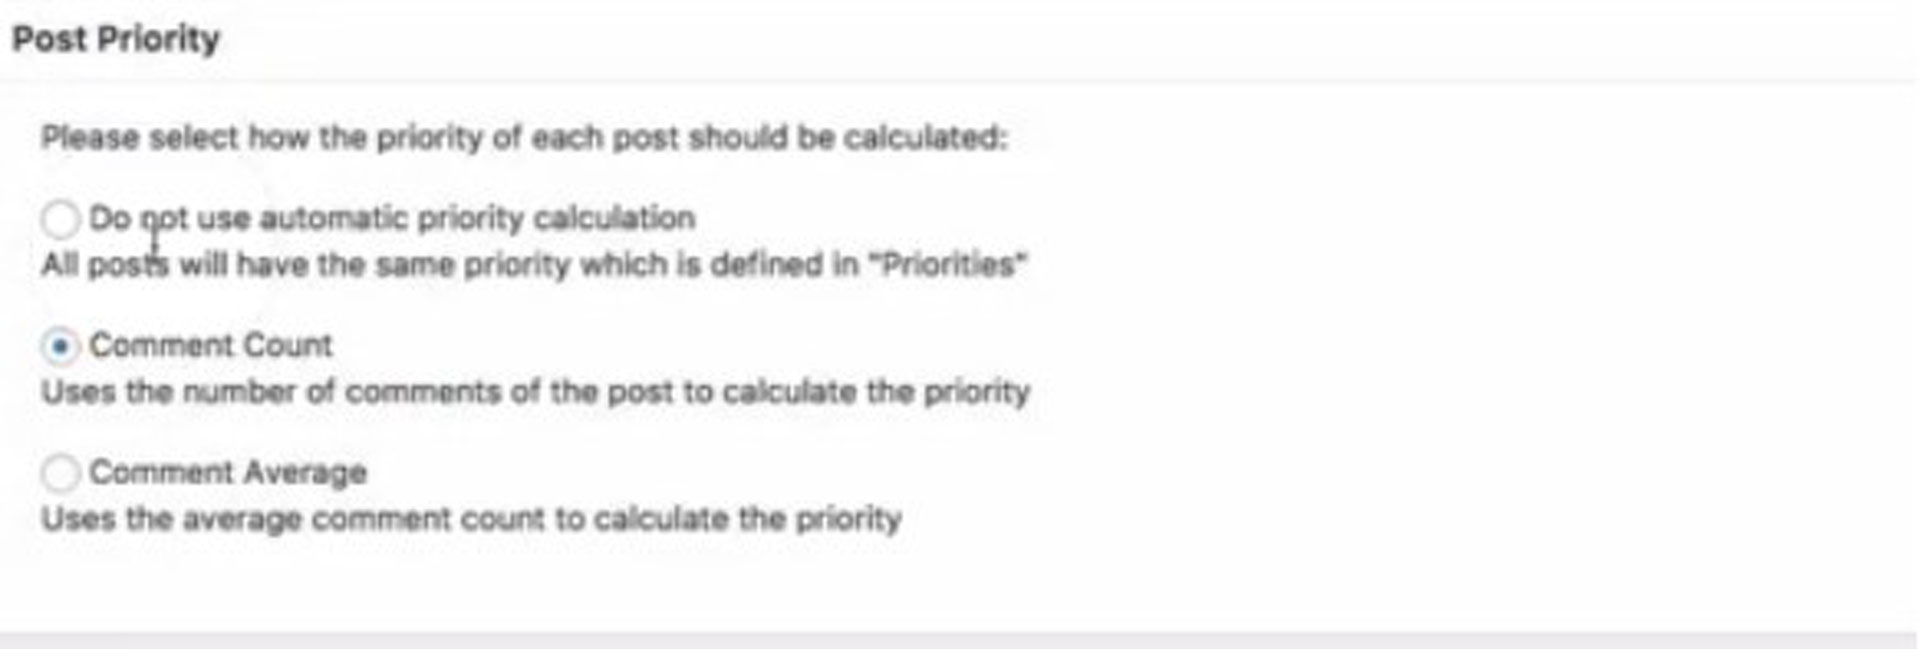
And several different settings. Once done with the settings, click on Update Options.
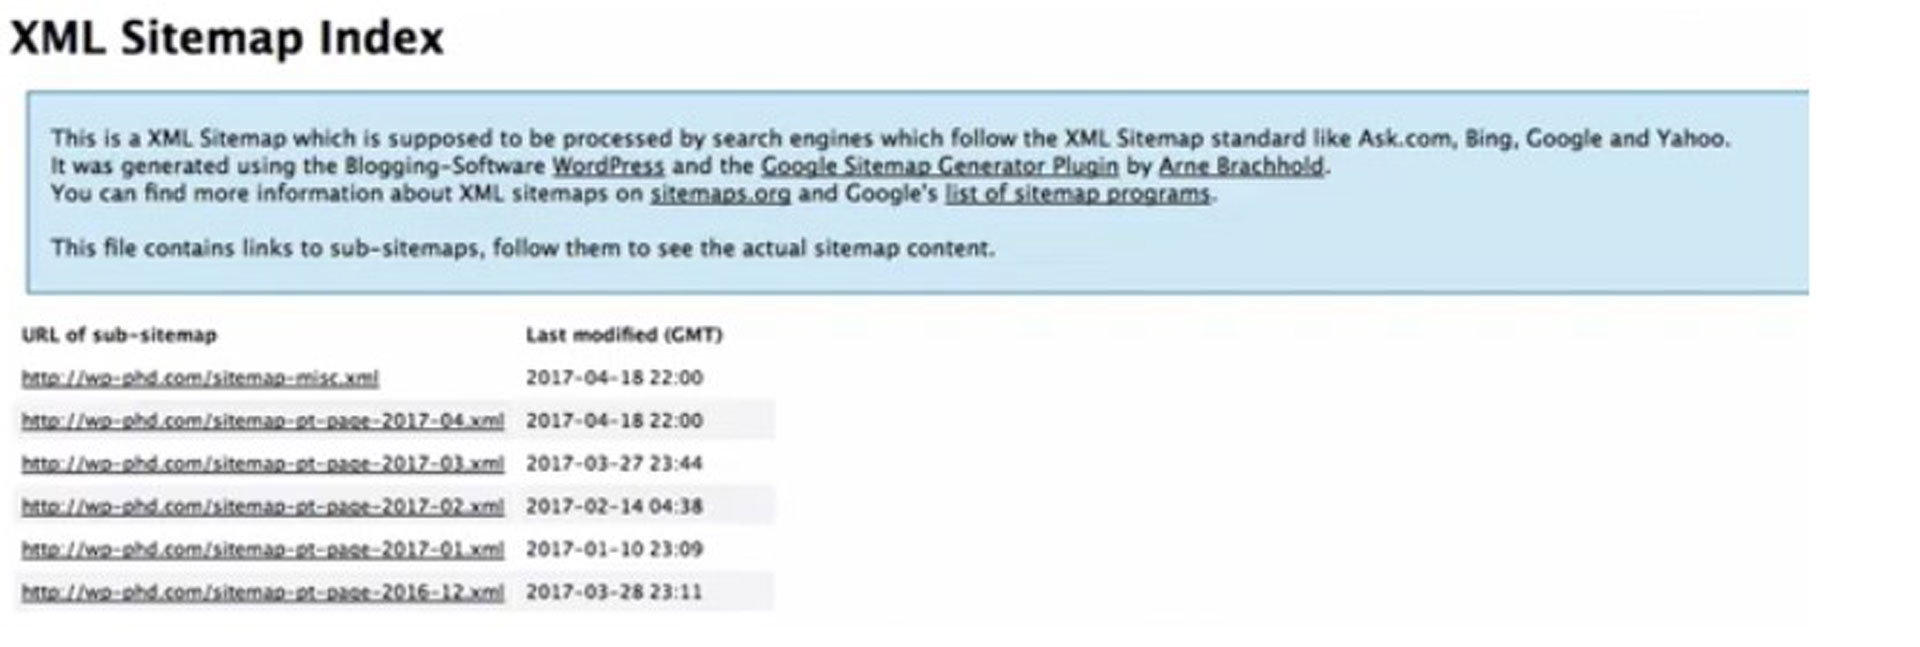
3. Update sitemap will appear, which you can view from the link. If you open it to a new tab, you can see a sitemap created by the plugin.
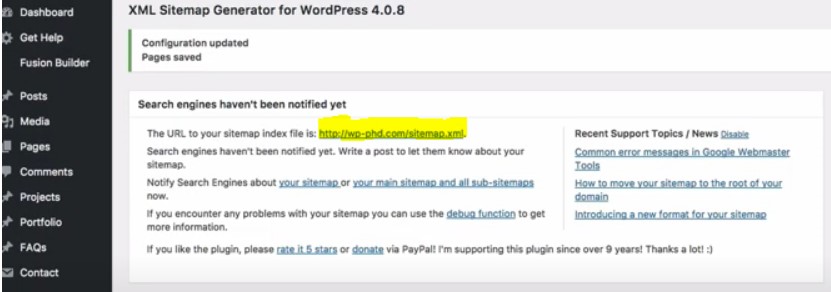
Take the URL and include it in Google Search Console.
Method 2: Creating a sitemap in WordPress using a plugin
A simple solution on how to build a WordPress site is with this SEO plugin. It automatically creates the sitemap for your blog.
We add the ability to create your XML sitemap with the Yoast SEO plugin. The software can be purchased free or paid for in both formats.
While Google has brought native XML sitemaps to WordPress, we provide an enhanced version for Yoast SEO sitemaps for WordPress.
Follow these steps to create your own Yoast sitemap and how to submit that sitemap to Google so you can get your site indexed.
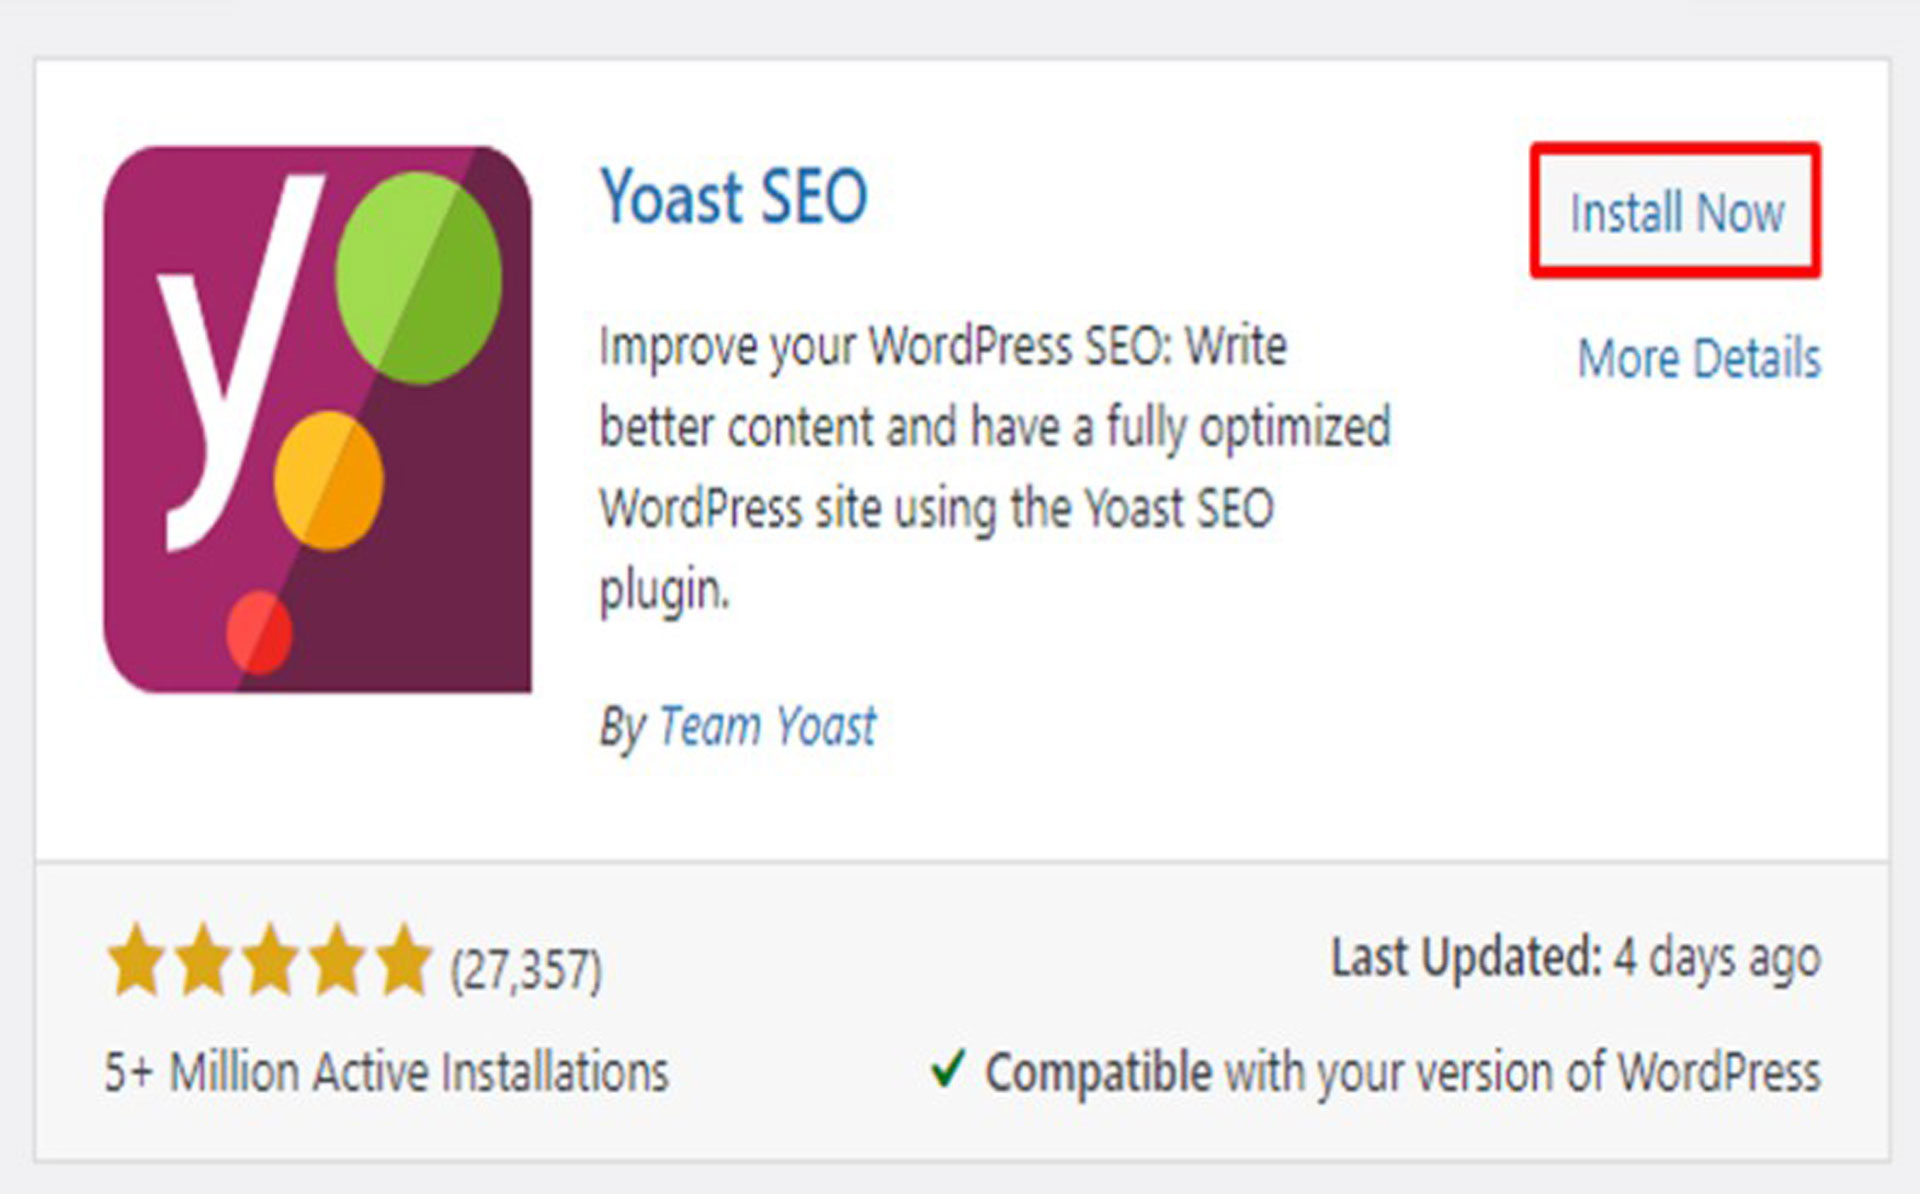
Before you can start using Yoast SEO, you need to install it. If you haven’t installed it yet, that is the first thing you need to do. To install a new plugin:
Head to WordPress Dashboard -> go to Plugins -> then, Add New. In the search box at the top, just type in Yoast, and the plugin will appear on the top left Click on Install Now, then Activate the plugin’s Free version.
Where to find your sitemap?
2. Go to the SEO tab from the dashboard menu -> select General -> once you come into General, you need to click on the Features tab at the top.
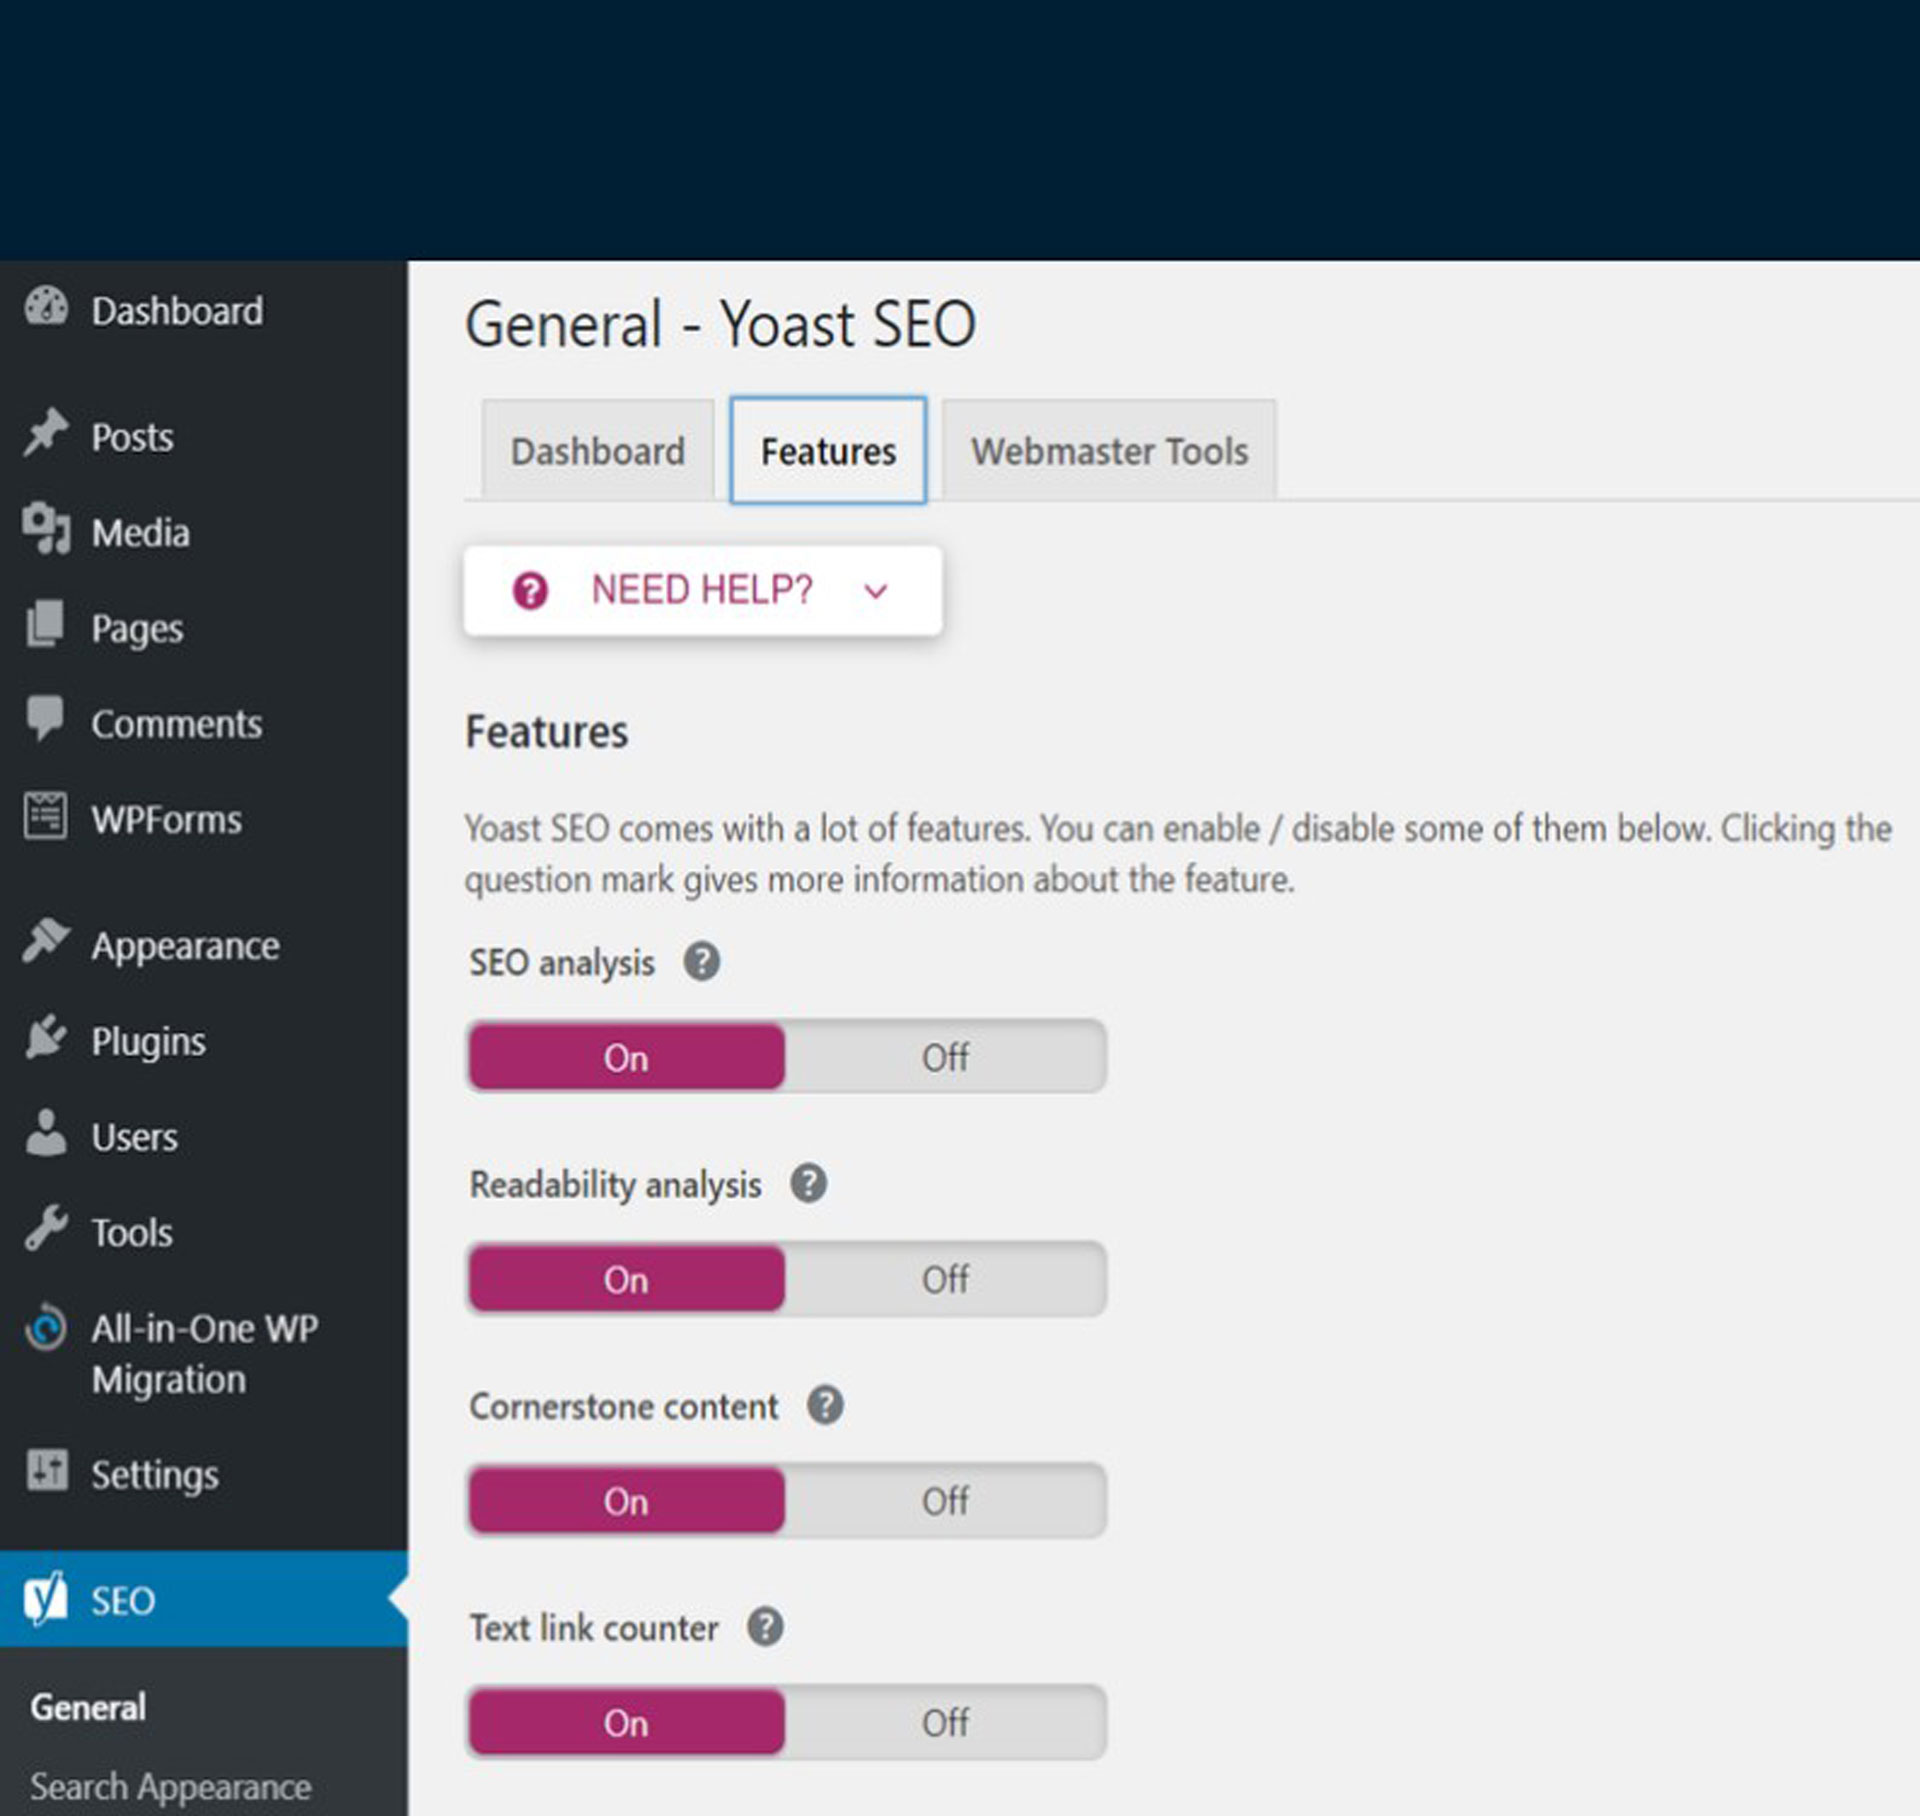
And halfway on the page, you‘ll see XML sitemaps -> select the On button -> and click on the Save changes button.
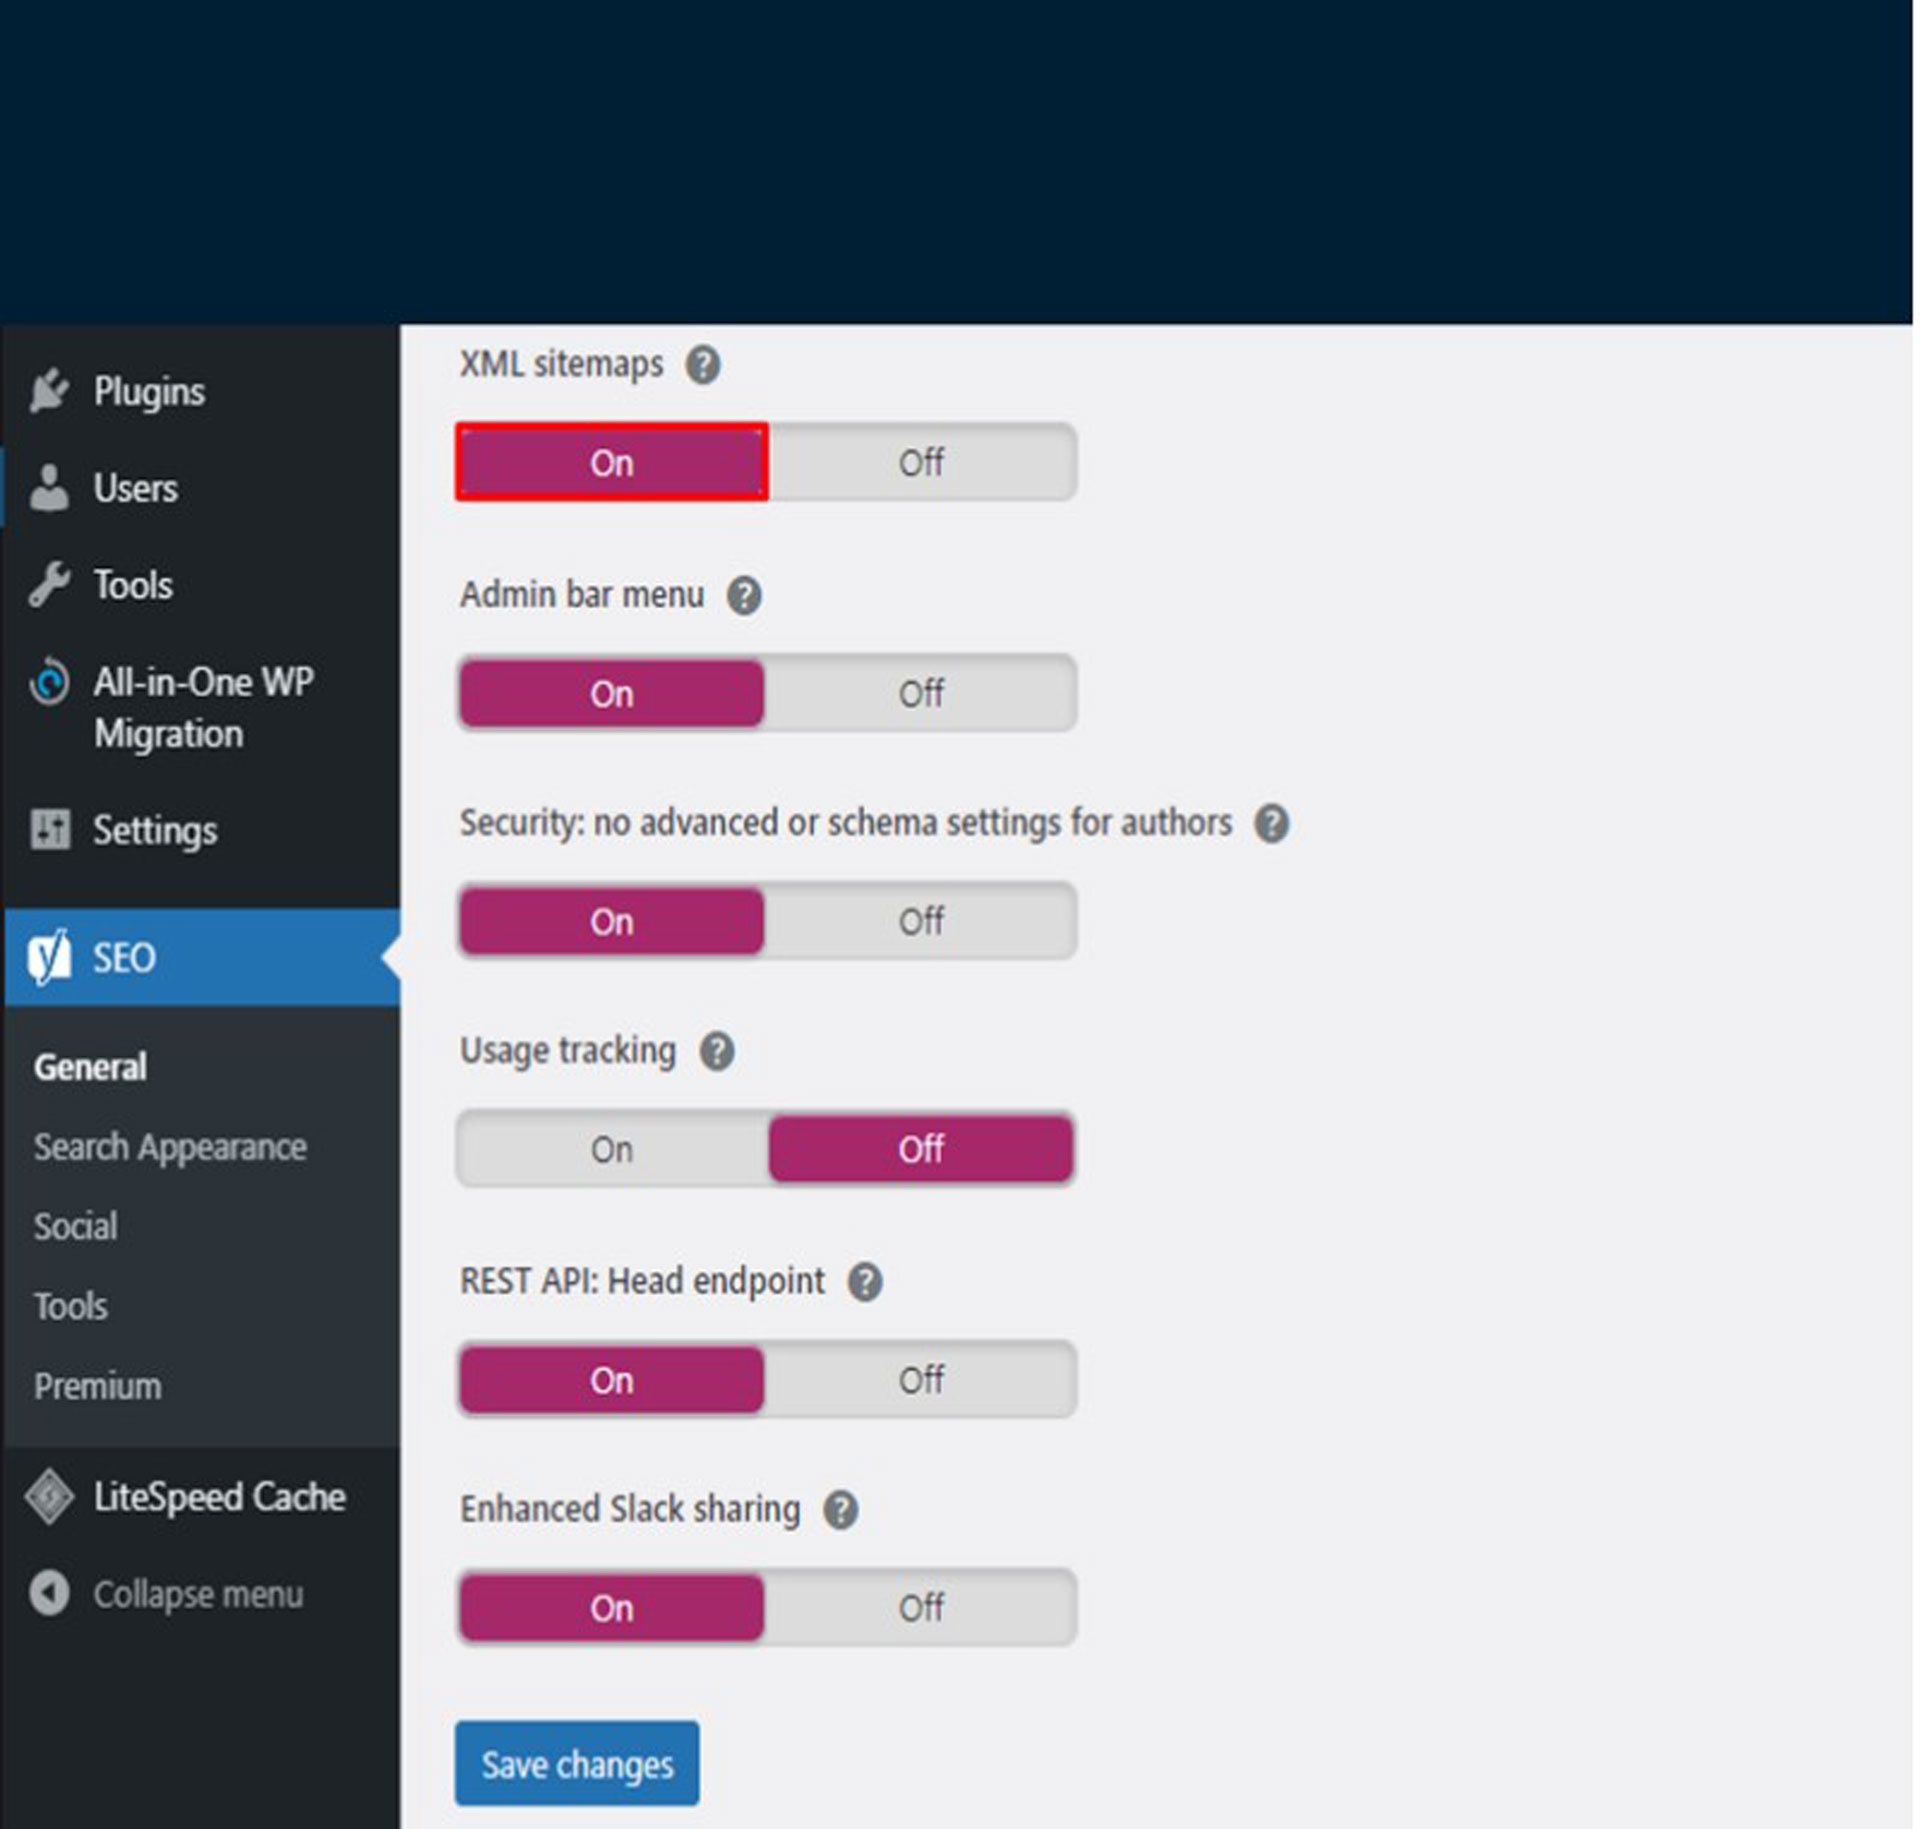
If you just click on the question mark icon, you have this thing pop up below. And to find your sitemap, click on a link that says See the XML sitemap.
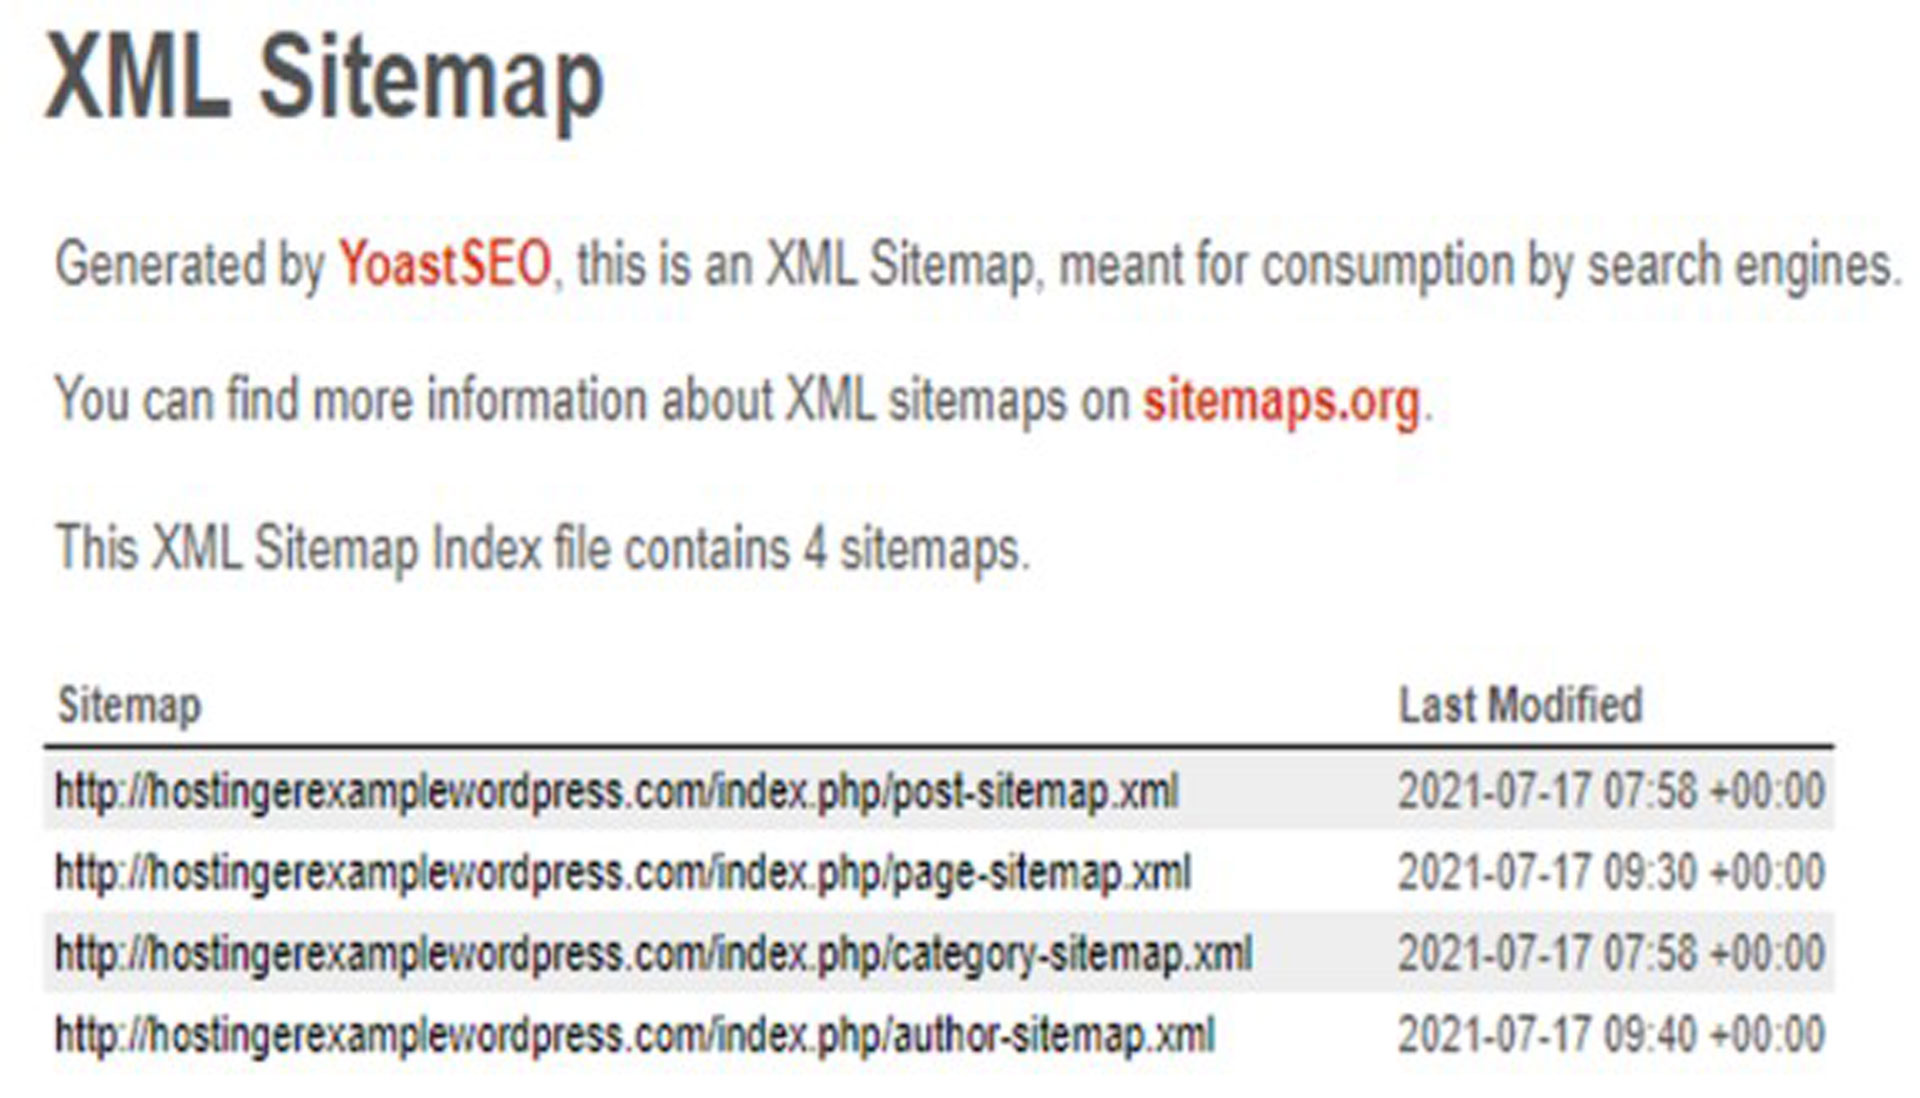
And Yoast SEO will redirect you to the XML sitemap URL. You can see a sitemap for a particular website or more information about each URL on your site.
Besides that, Yoast SEO includes a Webmaster Tools setting that allows a WordPress website to be instantly connected to various search engines. This method will make it easier to submit and notify search engines about updates.
If everything appears to be in order, it’s time to submit your sitemap to Google.
How to submit your sitemap to Google?
- Highlight and copy the URL of the sitemap.
- Go to your Google Search Console. On the left-hand side of the dashboard, look for the Sitemaps tab.
- Paste the sitemap URL at the space under Add a new sitemap, then click on Submit. Google has accepted it through a pop-up message — Sitemap submitted successfully. After submitting, Googlebot spiders crawl on your website, and that‘s how you get the site indexed.
Ideal Practices
Now that you know how to create your sitemap, you should learn the ideal practices that you should do to increase your SEO rankings, below are the priorities that you should start to utilize your website.
1. Prioritize your Web Pages
Prioritizing your webpage is one sitemap practice. You can use Google’s ranking system on your web pages by assigning them a score ranging from 0.1 to 1. Because the higher you rank a page, the more frequently it will be crawled by search engine crawlers. The lower the rank of the webpage, the less frequently it will be crawled.
2. Categorize your Content Correctly
A sitemap’s top priority is to categorize each piece of content correctly. A site map’s primary function is to aid search engines in correctly understanding the structure and content of your sitemap index.
3. Use sitemap Generator tools
Sitemap generator tools are a great way to create and manage sitemaps for your website and then submit them to search engines with just a few clicks. To use these tools, all you need to do is enter your website’s URL, and the tools will do the rest.
If you use WordPress, then you can use the Yoast SEO plugin to help you automatically generate sitemaps for your website.
4. Properly place an HTML sitemap
It’s important to place your HTML sitemap in an easily accessible location on your website. The sitemap should be placed on the root directory of your website, and it should be linked to the footer of your website. This practice gives your web visitors easier access to the information on your website, like the list of URLs on your website, which can help improve your website’s usability.
The same goes for XML sitemaps. If you want to achieve the same results, the XML sitemap should be placed in the root directory of your website and then submitted to search engines.
5. Never include “Non-Indexed” URLs
One of the best XML sitemap practices is to never include “no-index” URLs in your website’s sitemap pages. A no-indexed webpage is one that you do not want to be crawled or indexed. These are the pages you need because they are useful to your website, but don’t let them appear in search engines.
6. Match Your Sitemaps and Robots.txt
What exactly is a robot.txt file? This is a simple text file that is placed in the root directory of your sitemap files. This sitemap file contains a set of examples that will tell search engine robots which pages on your website they can crawl.
How are robots.txt & sitemaps related?
Yahoo, Microsoft, and Google joined forces in 2006 to support the standardized protocol for submitting website pages via XML maps where you must submit your XML sitemap via Google Search Console, Bing webmaster tools, and Yahoo.
You can follow these steps to add your Sitemap XML file to your Robot.txt file.
Step 1: Locate your sitemap URL
If your website was built by a third-party developer, you should check to see if they included an XML sitemap. Your sitemap file URL should be /sitemap.xml by default.
Step 2: Locate your Robot.txt File.
By typing /robots.txt, you can see if your website already has a robot file. If you do not have one, you must create one and place it in the root directory of your web server
Step 3: Add your Sitemap Location to Robots.txt File
Navigate to the root of your site and open robots.txt. Again, access to your server is required, so ask a web developer or your hosting company for help if you don’t know how to locate and execute the user’s website’s robots.txt file.
7. Look for Possible Errors
You can use the sitemap report to manage your sitemaps and to see if Google encountered any errors while parsing your submitted sitemaps. Also, one great tool that you can use is the Screaming Frog to check your XML sitemap for errors.
8. Look for Indexing Issues
One of the benefits of using a sitemap is that it can give you a rough estimate of how many pages you want to index and how many pages are already indexed.
It is critical that your sitemap and Robot.txt are compatible or you will end up sending mixed messages to Google, which can lead to a larger problem.
Submit your Sitemap to Google
When you are creating sitemaps, you should upload them to a web server, and you can submit them to Google Search Consoles.
In the GSC sidebar, go to “Index” then “Sitemaps”. There, you’ll see the list of submitted sitemaps if any and you can also add a new sitemap using the provided field, then “Submit”.
Later, you’ll see information such as the status of your sitemap in this section if there is any error or if it’s a success.
Things to consider…
Be cautious of the dates
The URLs in your sitemap have a “Last modified” date column that indicates the date they were last modified or the publication date. It is strongly advised to change these dates only if you are making major changes to your website or adding new content.
Utilize HTML Sitemaps
You don’t need these because Google and other search engines now rely on your XML sitemap. However, if you believe HTML sitemaps are useful for human visitors, they are unlikely to harm your SEO efforts.
Don’t worry with Video Sitemaps
It will not hurt your pages to have the ability to get a good video, but it is usually not worth the time.
Be mindful of the size limits
Google and Bing both have allowances of up to 50MB. So long as you stay under the 50MB umbrella, you’re fine.
Conclusion
A sitemap is an important part of your website. It’s one way to tell search engines what pages are on your site and how often they are updated. Creating and maintaining a sitemap can be time-consuming, but ensuring that your website is visible to potential customers is worth it.
By following the steps above, you can generate a sitemap and submit it to various search engines. You can also add your sitemap location to your robots.txt file so search engine web crawlers can easily find it. Finally, use the sitemap report in Google Search Console to keep an eye on any errors or indexing issues. Doing these things will help you maintain a healthy website that is visible to potential customers.


